🔐 Trezor.io/Start — Secure Your Crypto Journey the Right Way!
If you’re setting up a new Trezor® hardware wallet (Model One or Model T), your first—and most important—step is visiting Trezor.io/Start. This official onboarding portal gives you everything you need to initialize your device, install trusted software, and take control of your crypto—with zero risk of scams or fake downloads.
🌍 Why Only Trezor.io/Start Matters
It’s easy to get lost in search results or misguided social media links. That’s where the danger lies: phishing pages, fake installers, and malicious apps can lead to irreparable loss.
Trezor.io/Start ensures:
🛠️ What Happens When You Visit the Site
Step 1: Select Your Device Choose your wallet model—Model One or Model T—and the page will tailor instructions to your device.
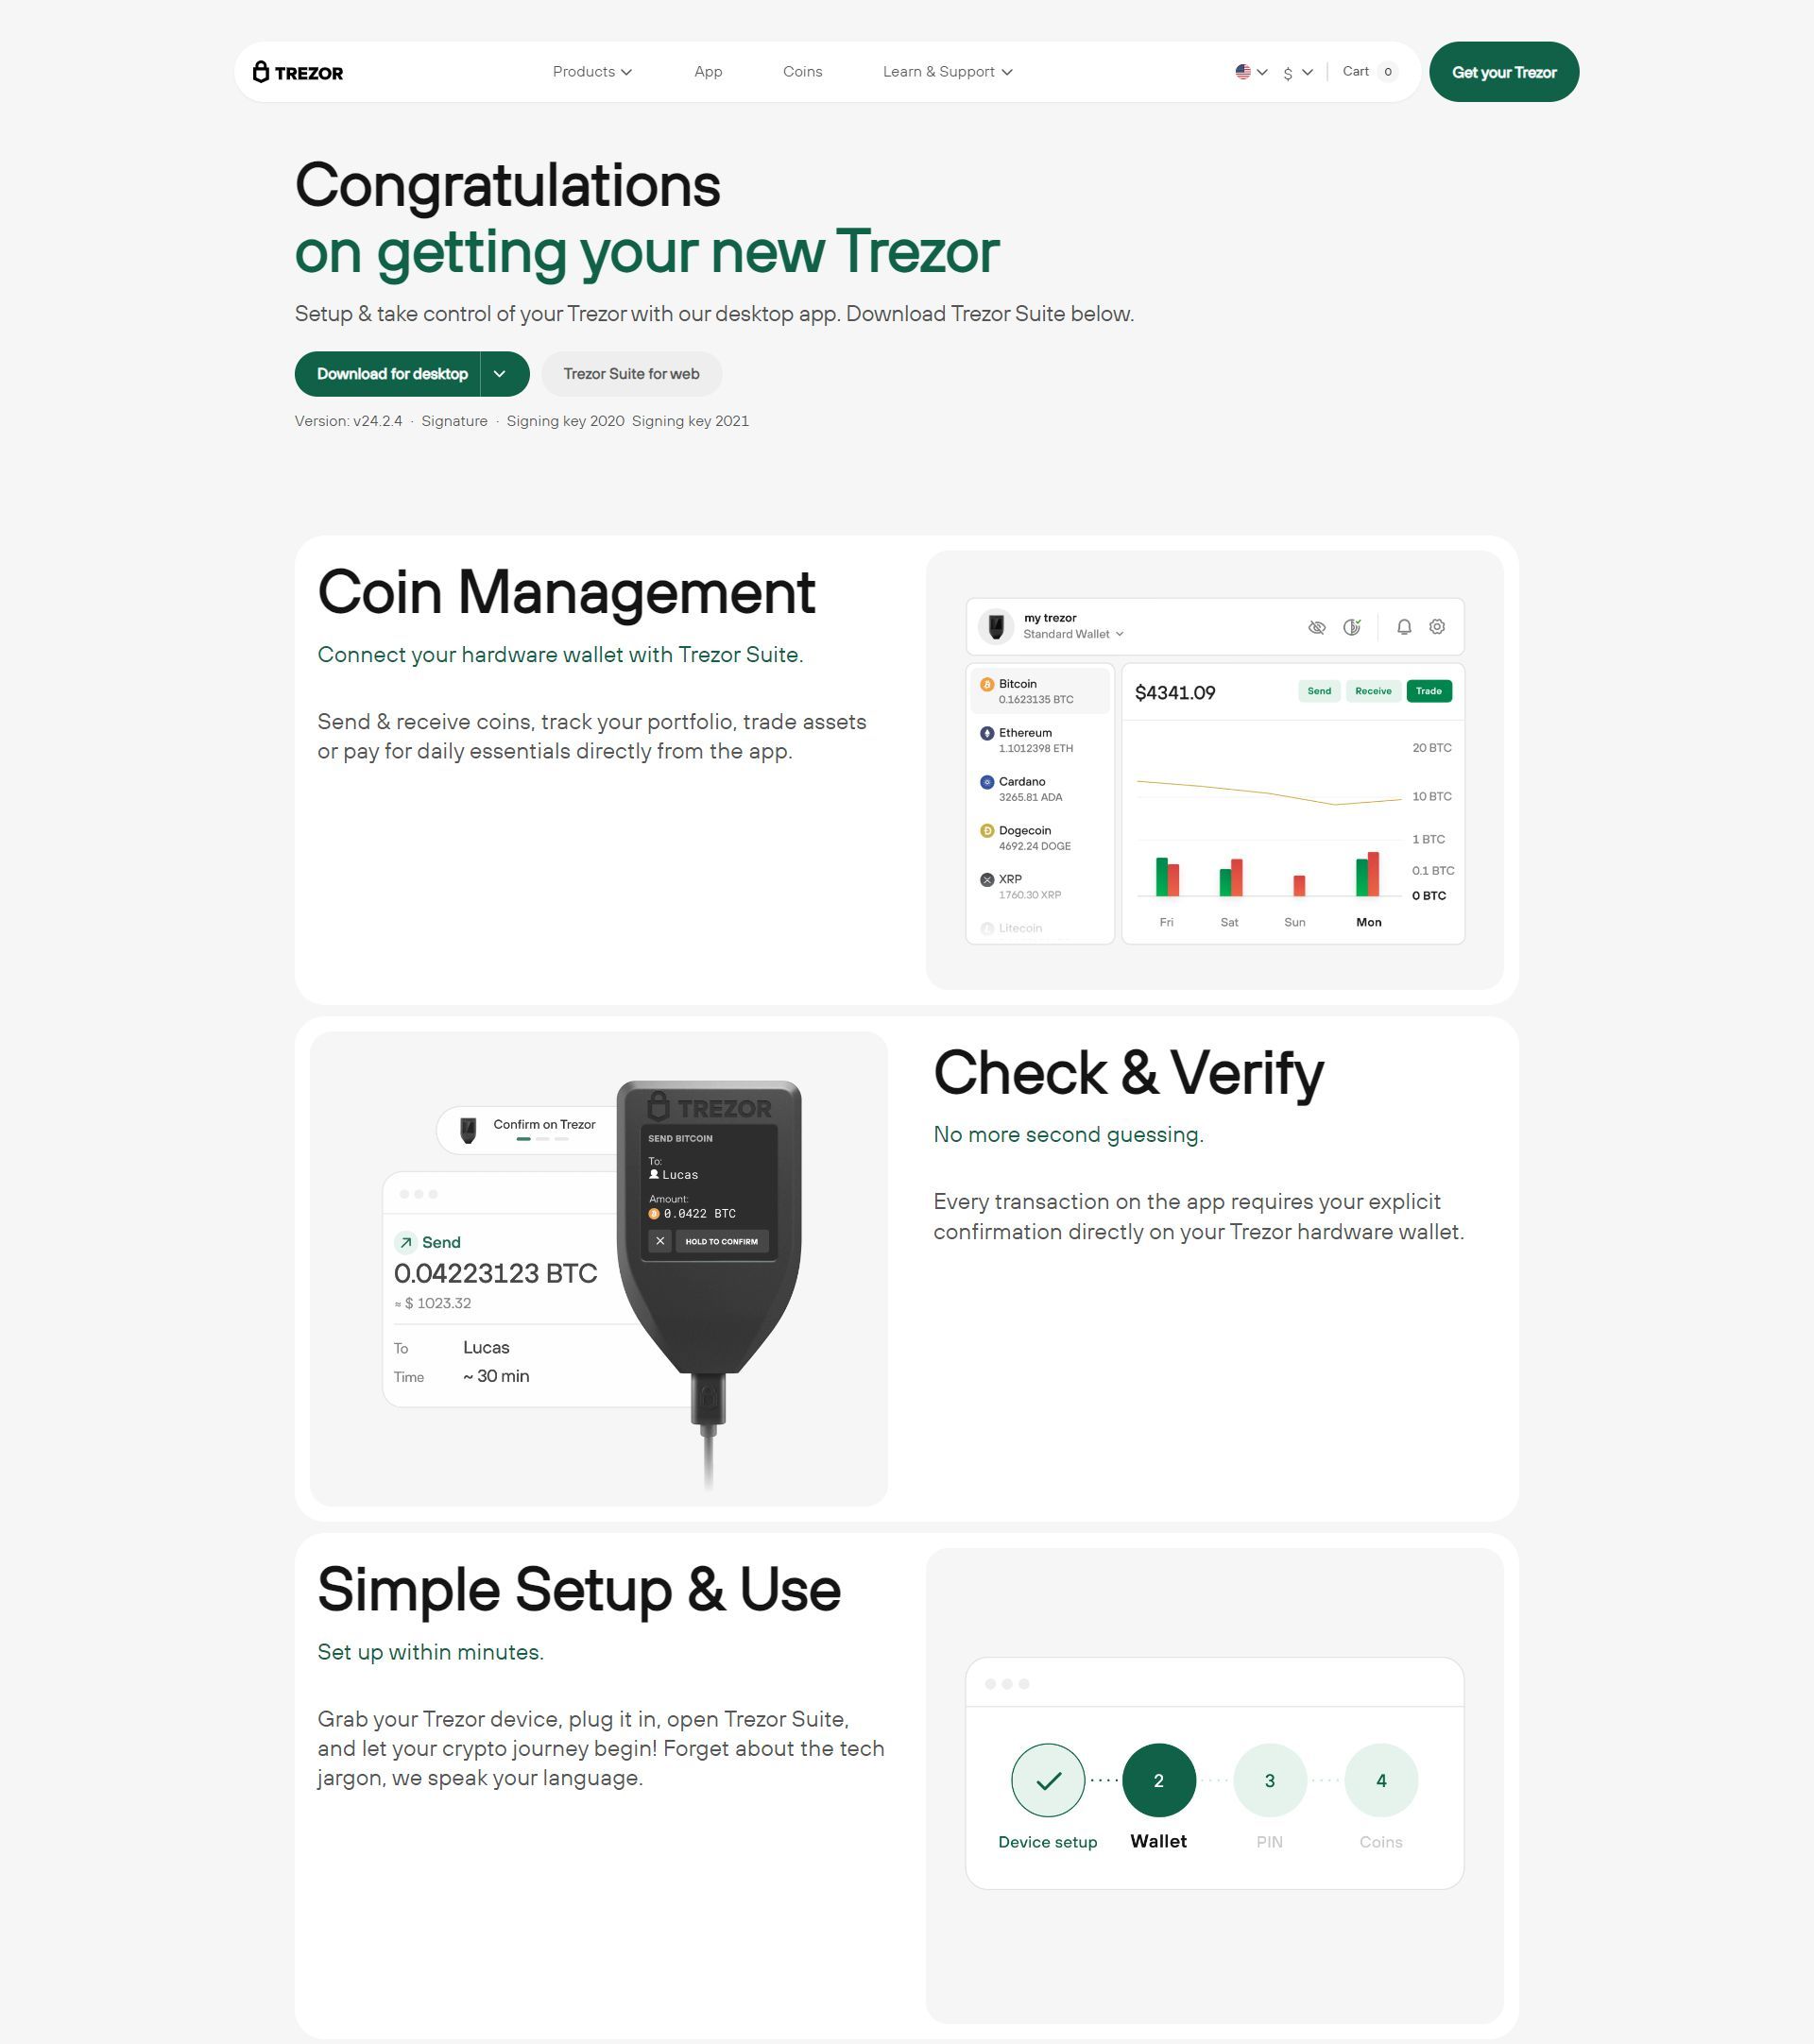
Step 2: Download Trezor Suite This desktop app (Windows, macOS, Linux) is your wallet control center—manage, update, backup, stake, and interact easily.
Step 3: Connect Your Wallet Follow on-screen prompts to plug in your Trezor via USB and begin setup.
Step 4: Initialize and Backup Create a PIN and write down your 12- or 24-word recovery seed—this is your only backup if something happens to the device. Never store it online or share it. ✍️
Step 5: Set Up Accounts Add support for Bitcoin, Ethereum, tokens, and more within Trezor Suite. Your wallet is now ready to go!
🔒 Real-World Security Made Simple
One common scam: fake setup videos that direct users to install counterfeit wallet software. Without realizing, users enter their seed phrases on malicious pages—and lose everything.
With Trezor.io/Start, that risk disappears. It’s designed to eliminate malware, phishing, and unauthorized firmware installs. The site even checks firmware authenticity, ensuring only signed updates are used.
💡 Pro Tips For Safe Setup
💬 Feedback from Real Users
Many users report peace of mind after using Trezor.io/Start to initialize their wallets:
“I didn’t realize how easily funds could be stolen until I read about phishing scams. Trezor.io/Start made setup clear and error-proof.”
Made in Typedream